FasciaBlasting a pretty simple process. The cool thing about it is that the premise is so simple, that you can hardly go wrong. There are just a few things to avoid when using your FasciaBlaster so that you don’t hurt yourself and I’ve highlighted them below.
The most important thing to know about FasciaBlasting is JUST START. (Assuming you’ve made an informed decision that it’s something you want to try.) Don’t get bogged down in procedure. It’s worth noting that FasciaBlasting Rockstar Julie Chelberg stated in a recent video that she has never timed any part of her session. (Julie is a regular on the FasciaBlasting Facebook Group and known for her amazing body transformation using the FasciaBlaster and her large library of instructional videos.)
As you work with your own fascia, you will learn what feels especially good and effective on your own body. You will start to learn where the rough patches are, where the adhesions are, and how to work with them.
In this post, I will walk you through the entire process, start to finish. I imagine most reading this will be new to FasciaBlasting, so I’ve saved advanced techniques and supplemental methods that can be added to your FasciaBlasting routine for a future post.
The Basic Procedure
1. Heat Up The Area

The official word from the FasciaBlaster creator Ashley Black is that this is an optional step. I did not get any results until I started heating, so I’d recommend you find a heat source that works for you.
You can use a hot shower, bath, hot tub, sauna, heat lamp, sauna suit, heating pad, or hot sunny day. I started using the sauna at my gym and after they kicked me out multiple times, I built a makeshift sauna in my bathroom using near-infrared bulbs (heat lamps) from Home Depot.
2. Apply Oil (or another lubricant)
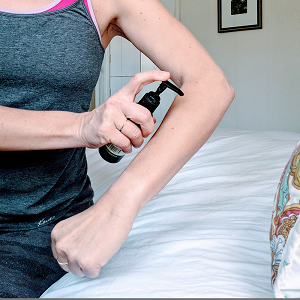
Slather oil or some other lubricant on the skin. Coconut oil, olive oil, avocado oil. You need an oil that doesn’t absorb too quickly. Ashley Black created a special oil for FasciaBlasting.
I personally cannot use anything mentioned above because I have a salicylate intolerance, so I use glycerin (which admittedly isn’t as slick as I’d like) and sometimes bodywash soap.
3. Rub the FasciaBlaster Over The Area
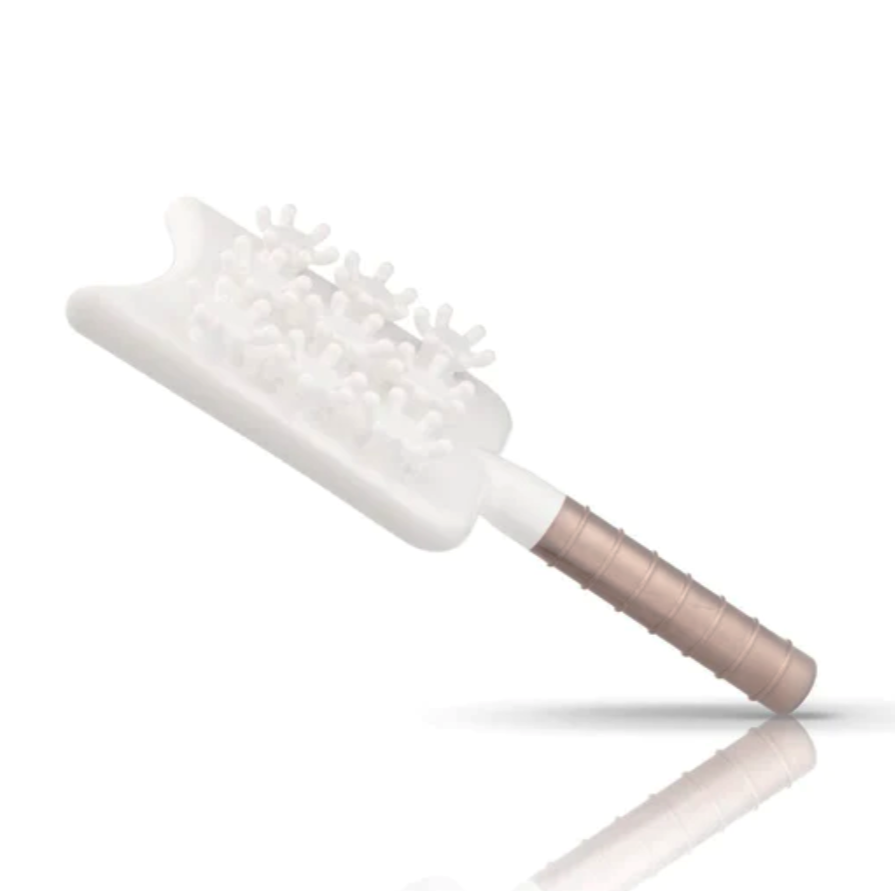
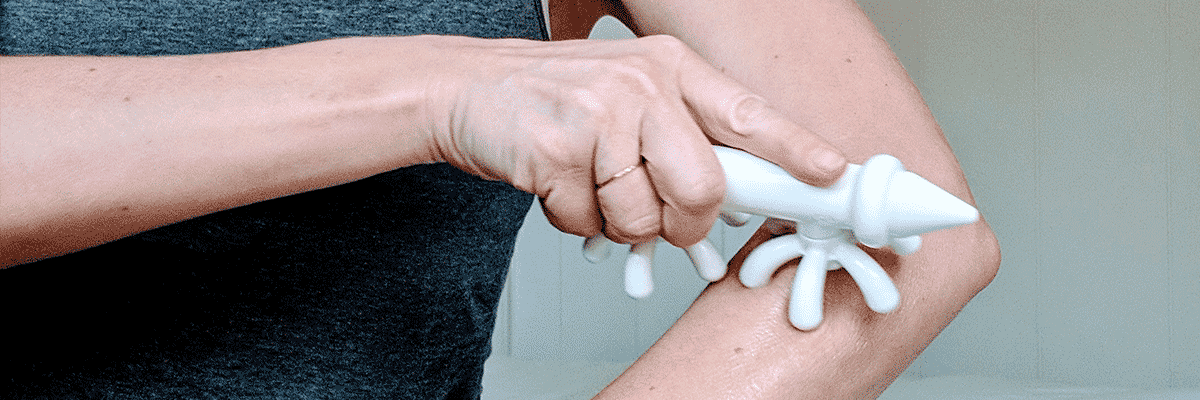
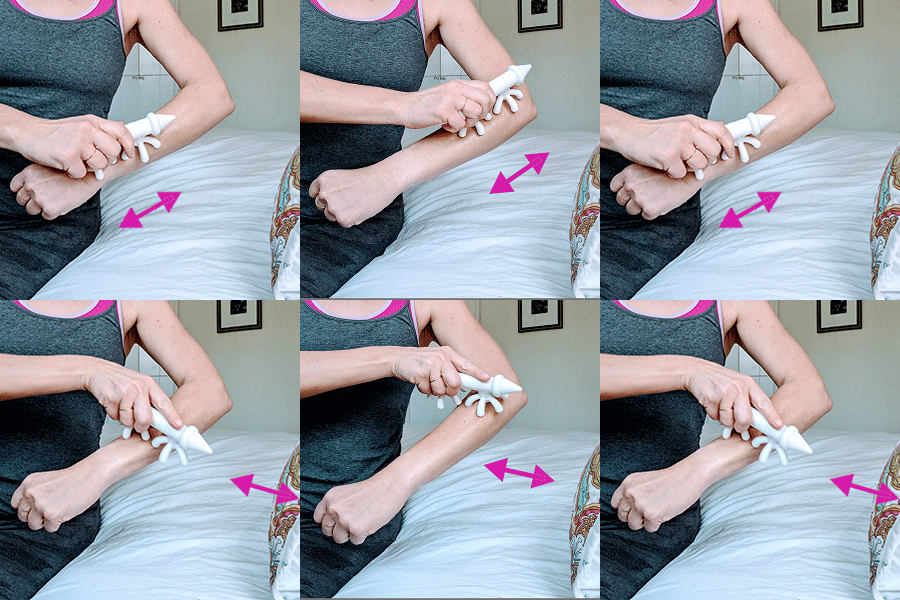
Briskly rub a FasciaBlaster tool over the area you want to work on for a minute or two, either up & down or cross-wise, never in circles. Ideally you’d go over the area with a Prep Tool and then again with a Large-Claw tool.
3a. Use a Prep Tool (Small-Claw Tool)
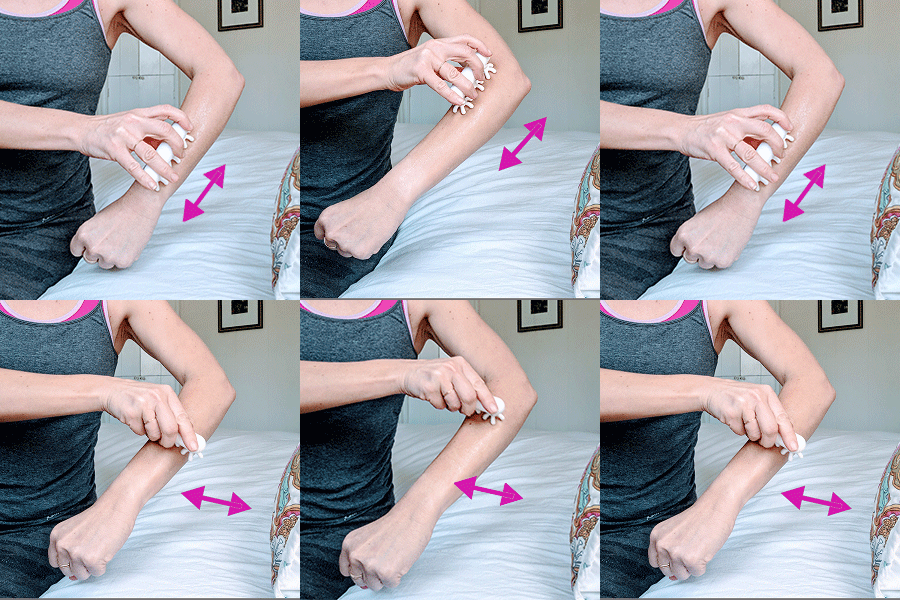
The point of the small-claw tool is to get blood flow to the area and to both warm up and work on the superficial layer of the fascia. Because the claws are smaller, they don’t go as deep into the tissue as a large-claw tool.
If you’re very new to FasciaBlasting and the area is sensitive, you may want to start with only using a small claw tool. Pay attention to your body and listen its signals. You may want to add the next step only after a few weeks of using a small-claw tool alone.
3b. Use a Large-Claw Tool
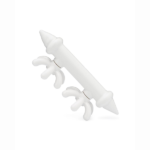
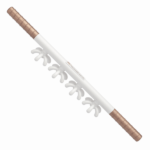
Then rub a large claw tool over the area for a similar amount of time. The large claw tool will be able to go deeper into the fascia layer. Large claw tools are what this whole movement started with, so don’t discount them. Both steps are equally important.
Bonus Points: Flushing
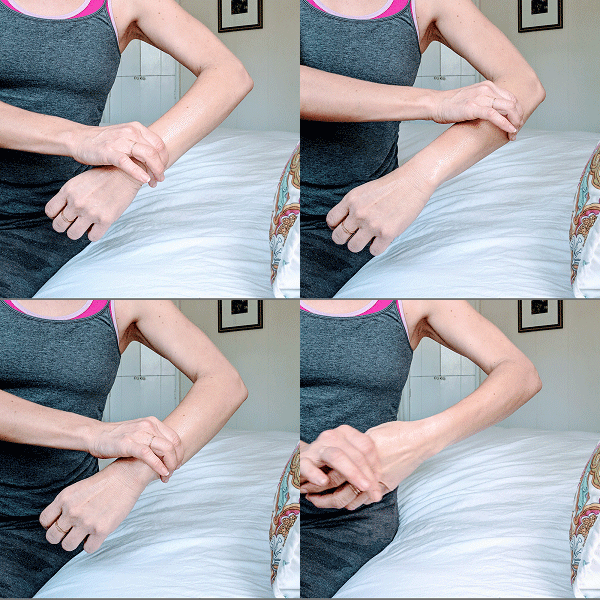
I noticed that Ashley no longer officially calls this step “flushing” or really even calls it a step. Instead she recommends rubbing her “After Blaster” cream over the area.
She used to recommend applying pressure in a sweeping motion over the area that was worked on to move the lymph along and try to minimize inflammation from pooling up in the area.
I still do this step, usually in the shower rinsing off from a blasting session. I’m not sure how important it is, but I figure why not… I’m already washing off anyway. Can’t hurt.
That’s It!
See, it’s not so hard to FasciaBlast. I think it feels really good. It’s like a massage you give yourself. I always feel so relaxed and flexible afterward. And my skin glows. How is FasciaBlasting going for you? Keep me posted in the comments below or hit me up on Instagram.
Some of my favorite Fascia Care Tools:


